Introduction
Theme integration
Integrating Cardigan with your Shopify theme allows customers to check the balance of their gift cards as well as purchase new cards from a gift card product page.
Cardigan offers two paths for theme integration: drag-and-drop widgets via theme app extensions, and fully custom builds using our client library.
Drag and drop widgets
To let you get up and running as quickly as possible, Cardigan provides a series of drag and drop widgets that can be added to your theme directly from the Shopify theme customiser.
Online Store 2.0 themes only
Drag and drop widgets via theme app extensions are only supported for Shopify themes built for Online Store 2.0.
If you're unable to add Cardigan's theme app extensions from your theme customiser, double check that the theme you're using fully supports Online Store 2.0. If it doesn't, you can use the custom theme integration path or consider upgrading to Online Store 2.0.
Balance checker
The balance checker widget provides a simple form that accepts a gift card number and PIN and performs a balance check against the provided information with your external gift card provider. It can be added to any page or section in your theme - it could be a dedicated content page, within the customer account section, or even in your theme's footer.
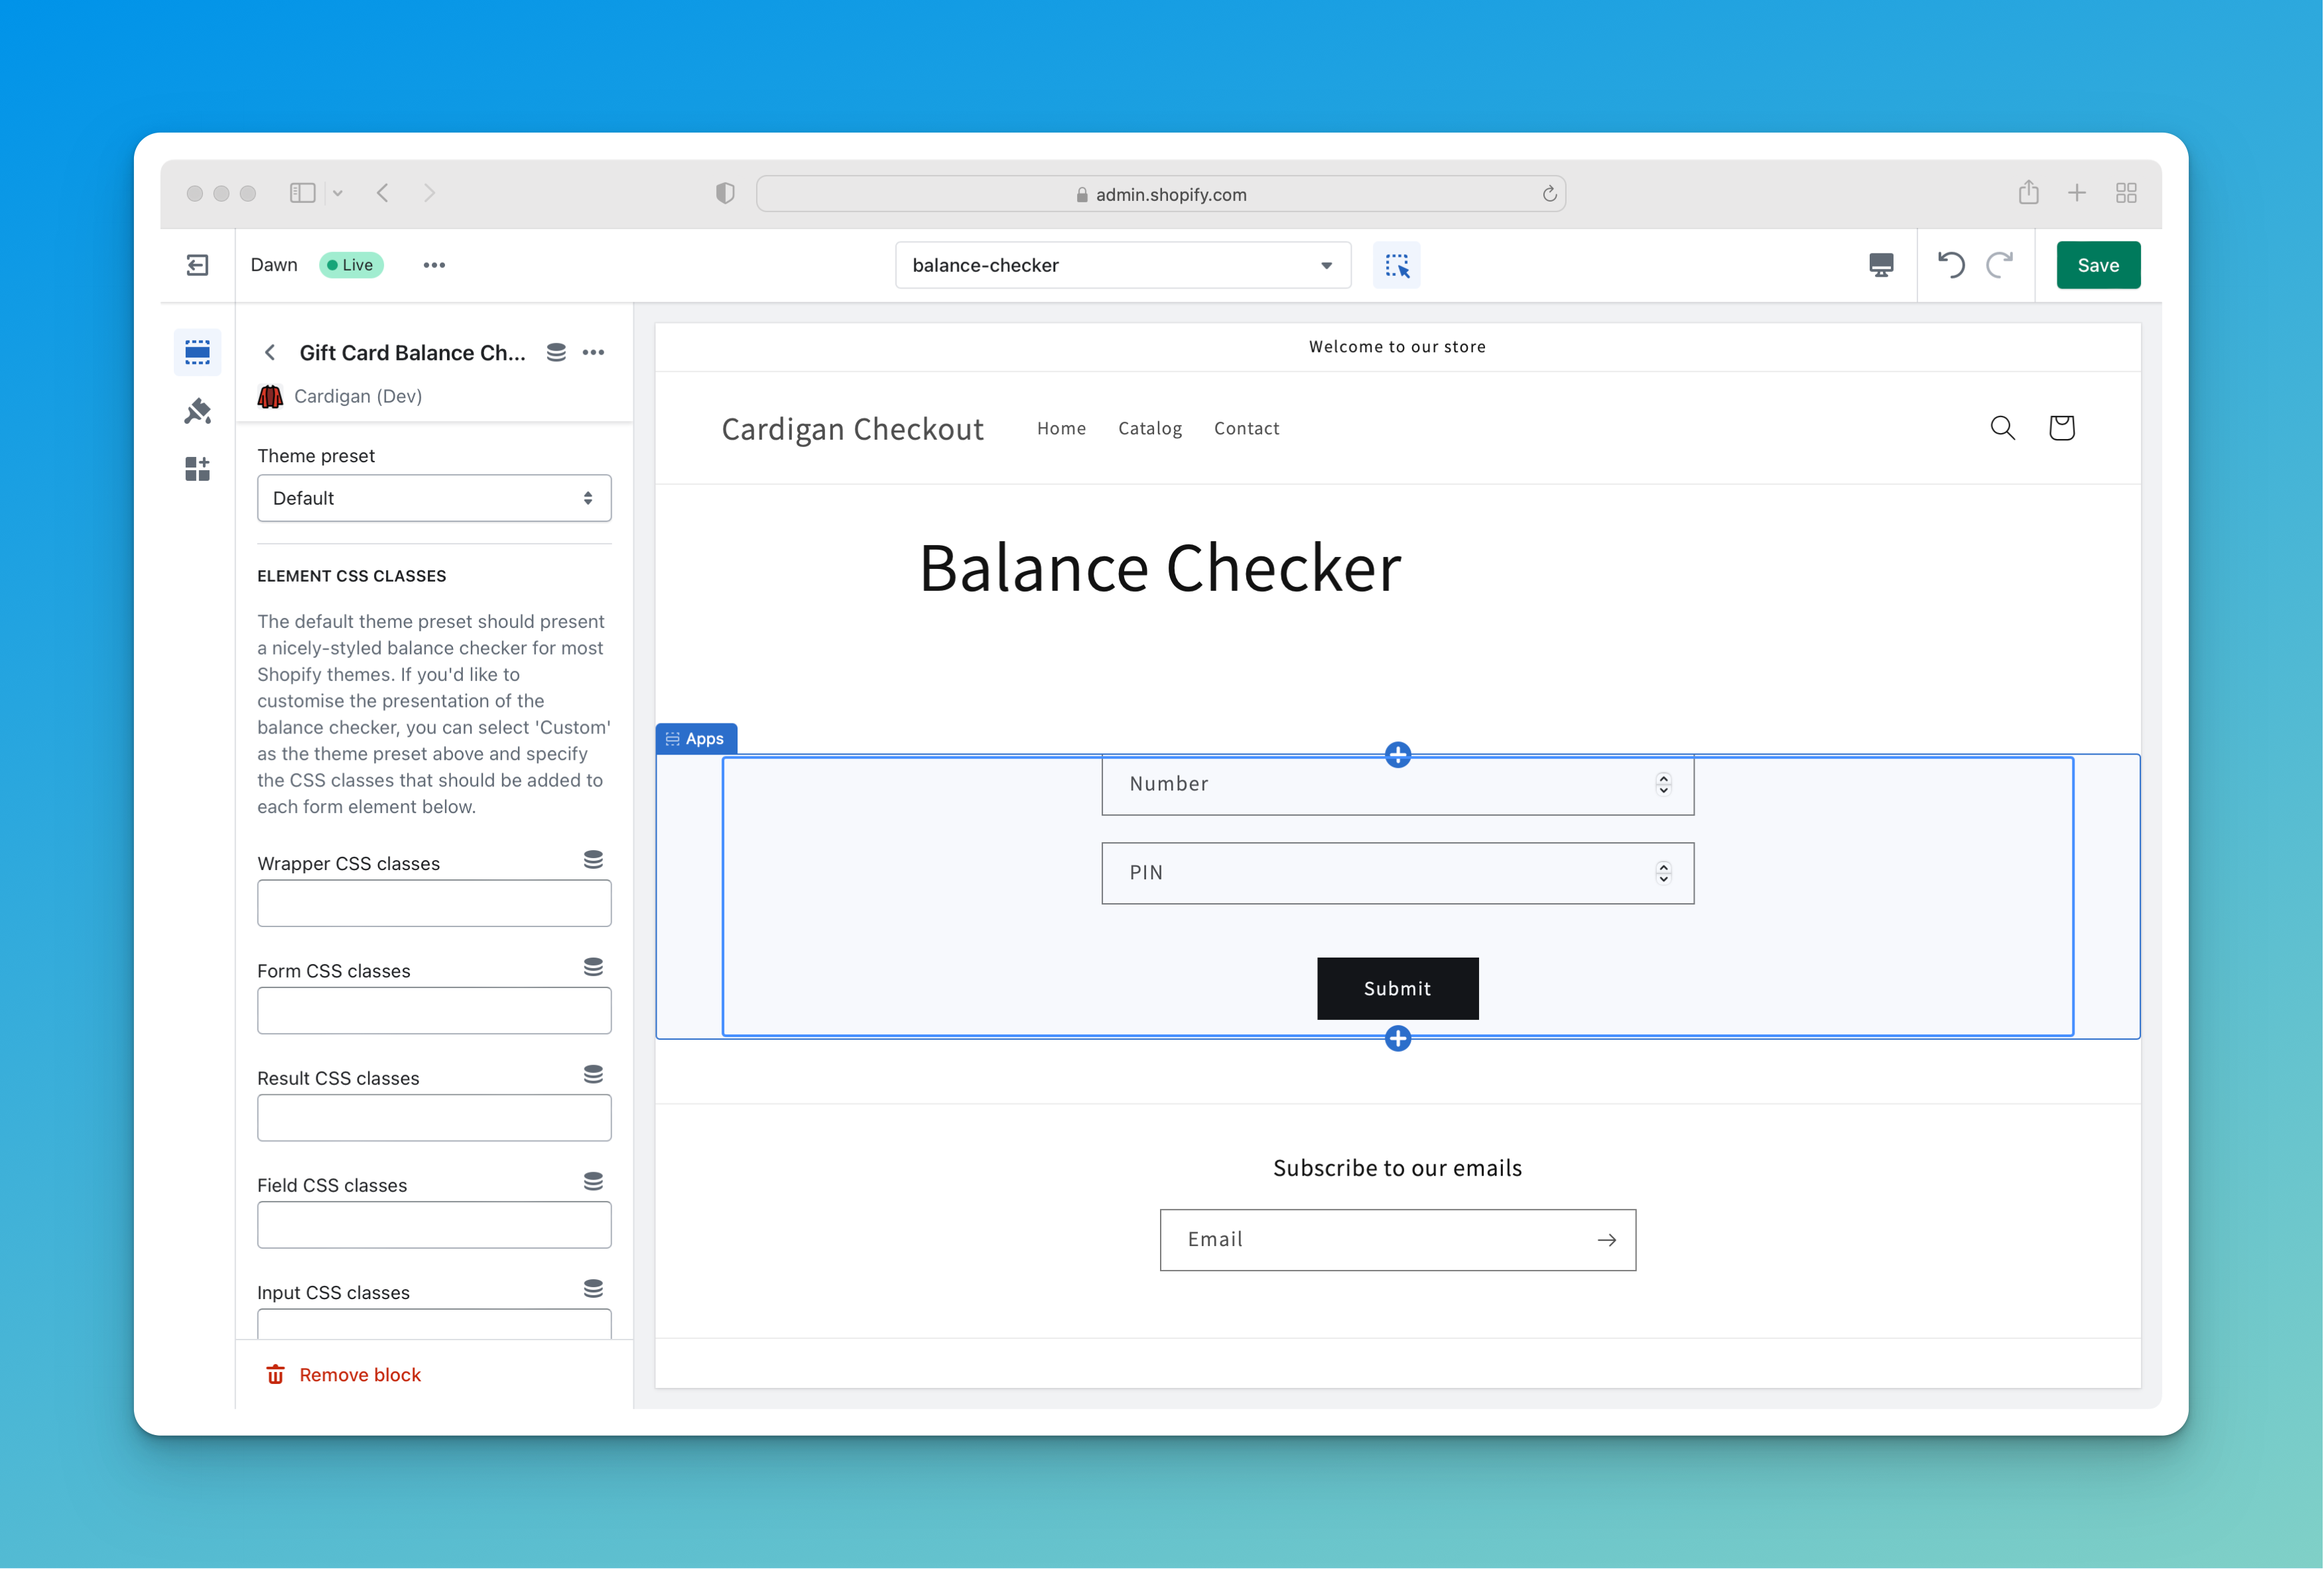
The balance checker widget allows you to define any custom CSS classes you'd like applied to the various form elements to ensure visual consistency with the rest of your theme. You can watch the Cardigan Onboarding video to see an example of adding the balance checker widget to a dedicated content page in the Dawn theme.
Product form
The product form widget can be used to add form fields capturing additional gift card information (such as recipient details) to the product page template used for your digital gift cards. If using the widget out of the box, we recommend creating a new dedicated digital gift card product template and adding the form as a block just under the quantity selector on your product page.
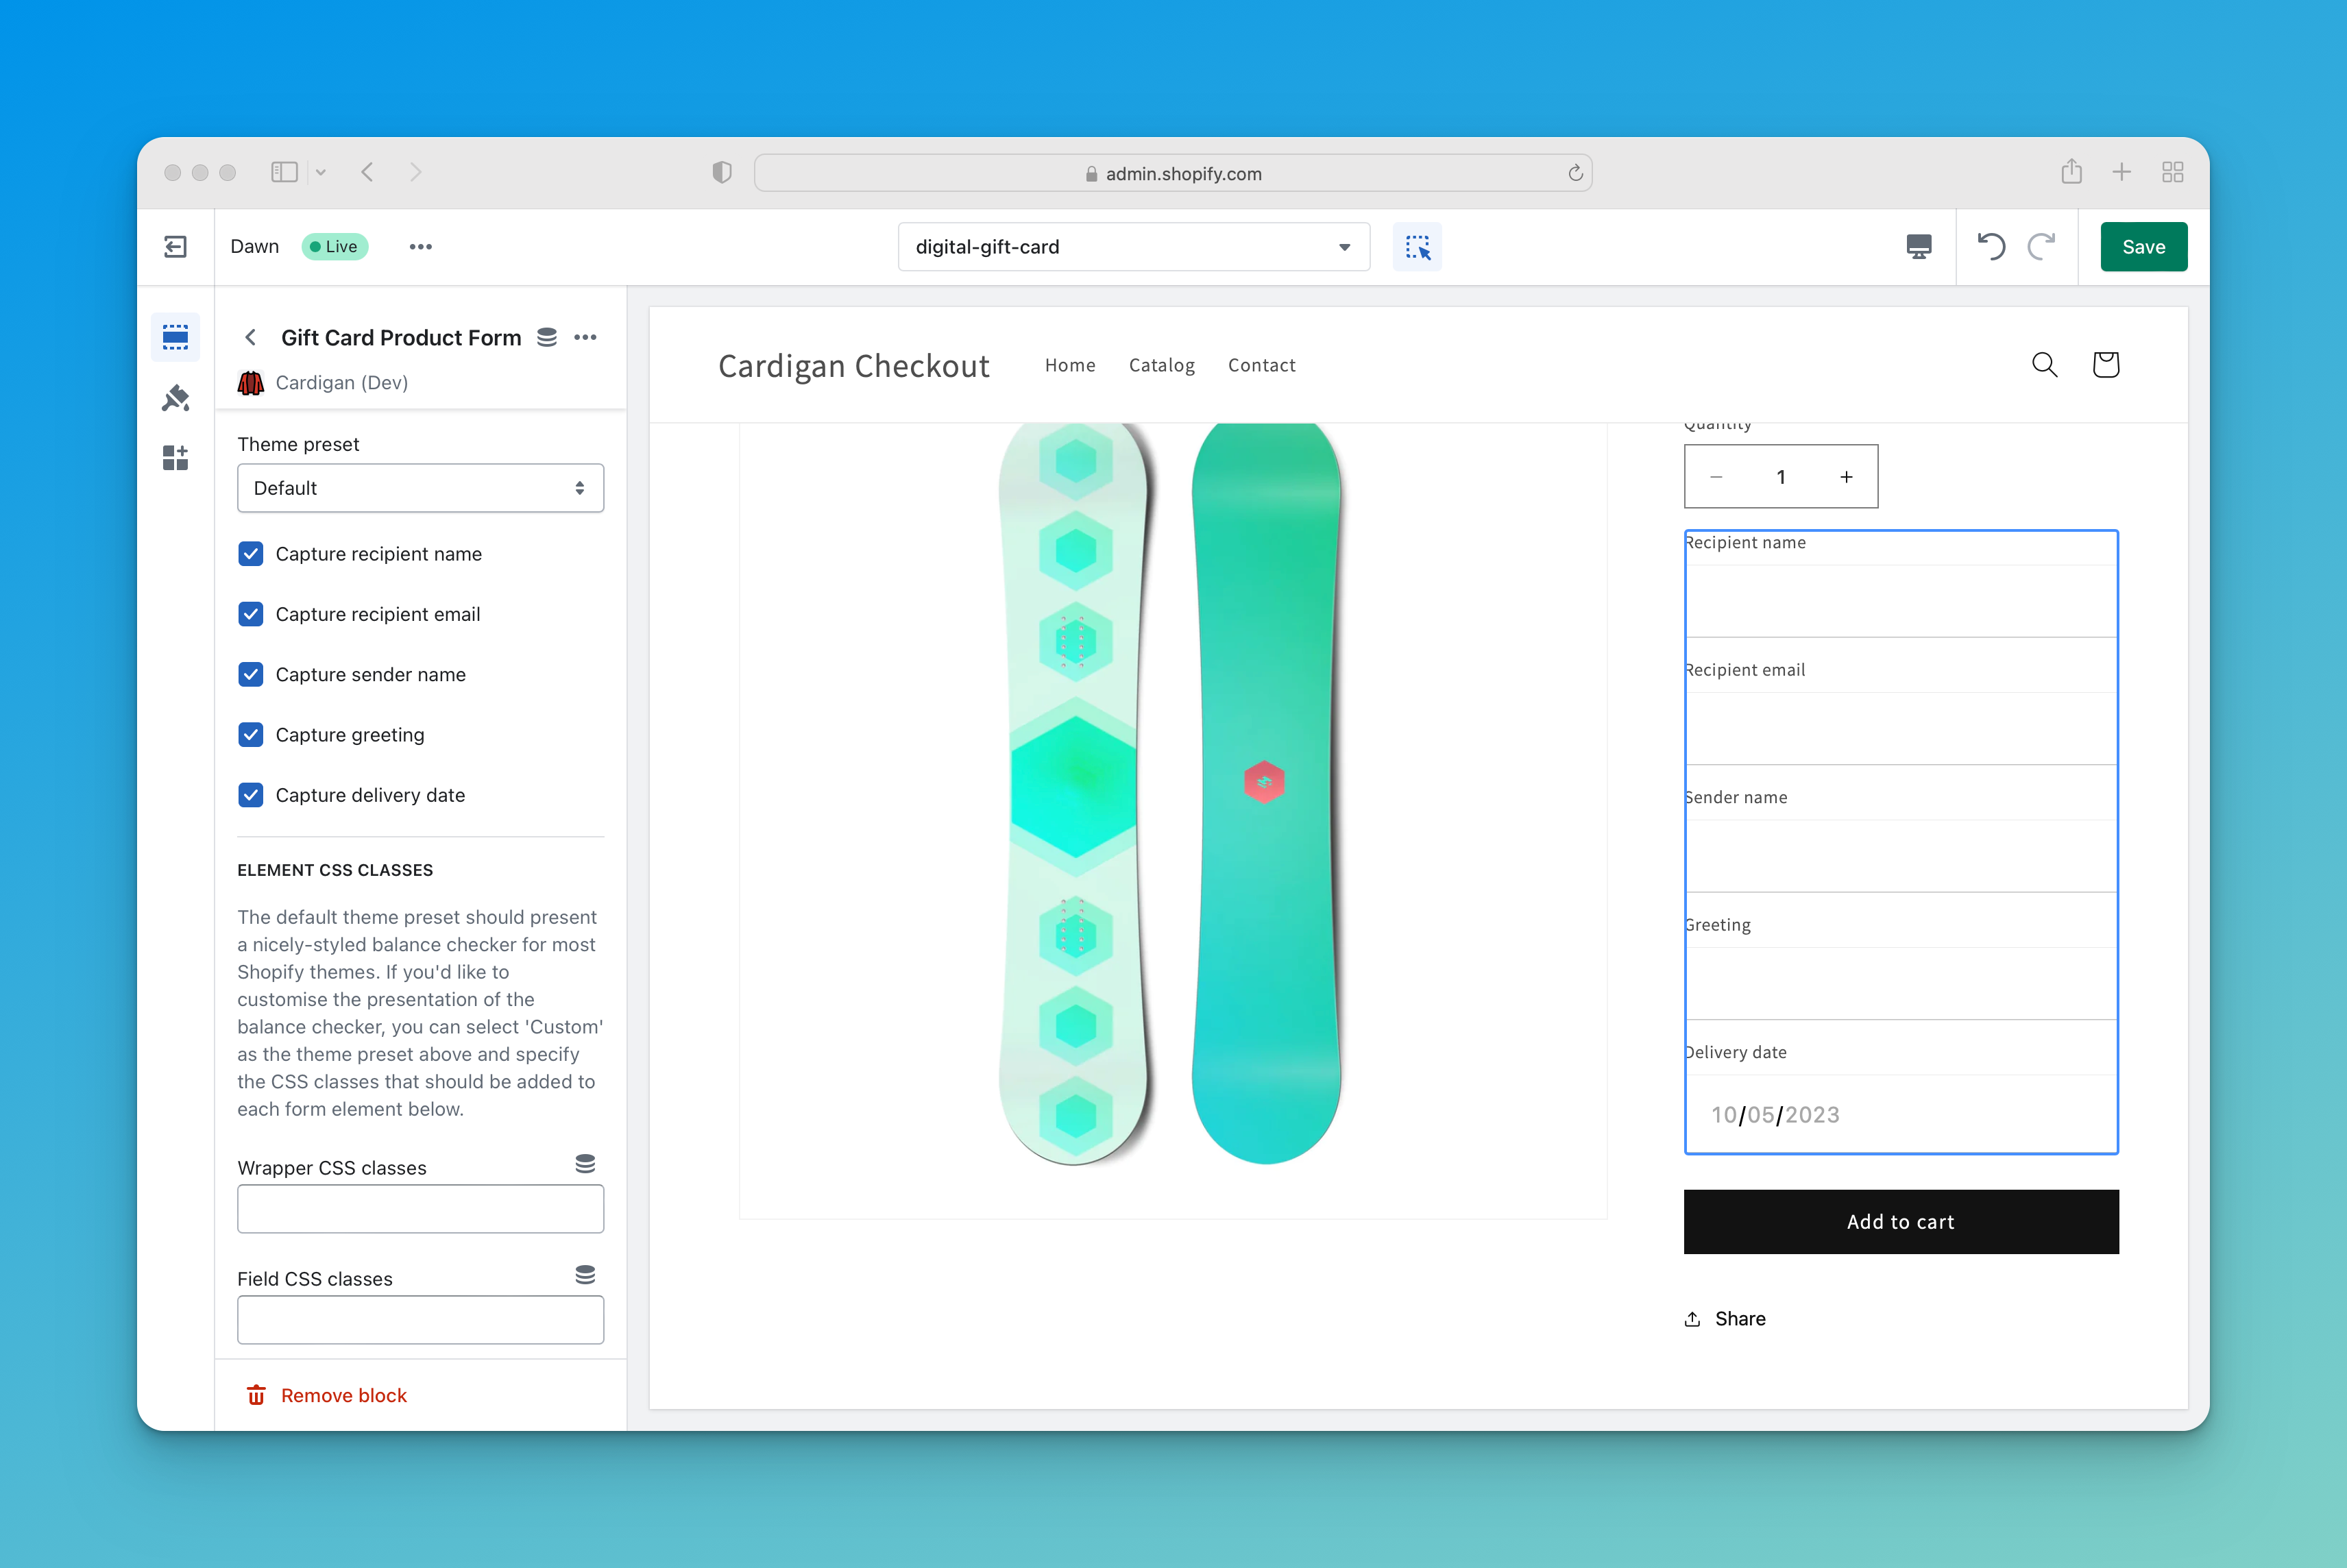
The product form widget allows you to configure which of the gift card information fields you wish to capture, as well as define any custom CSS classes you'd like to attach to the various form elements to ensure visual consistency with the rest of your theme.
Potential issues with Ajax add to cart functionality
When added within the main product form, the product form widget renders inputs with names like properties[_recipient_email], ensuring that the additional information is attached to the line item as a property when the product form is submitted.
Many Shopify themes offer "Ajax add to cart" functionality, where submitting the product form results in an Ajax request to add the item to cart instead of a full-page form submission. Some of these implementations correctly detect and serialise the additional gift card information inputs; however, if you're seeing issues with additional gift card information not being attached to line items you may need to tweak your theme code to include these additional property input values in the Ajax request.
Custom theme integration
If your store's theme doesn't support Online Store 2.0 features like theme app extensions, or if you want complete control over how your gift card integration appears and functions, you can build a completely custom theme integration.
Cardigan.js
Cardigan.js is a Javascript library that targets the browser.
It provides client-side functionality that makes it easier to build custom theme integrations with Cardigan, wrapping functionality like configuration loading and API calls into a simple Javascript API. The source code is available on GitHub and the compiled and minified browser library is available on the hosted Cardigan CDN (latest version here).
To use Cardigan.js, you can copy the following code into the bottom of your theme.liquid:
<script id="cardigan-config" type="application/json">
  {{ shop.metafields.cardigan.config }}
</script>
{{ shop.metafields.cardigan.config.value.cardigan_js_uri | default: shop.metafields.cardigan.config.cardigan_js_uri | script_tag }}
Cardigan.js will initialise itself, from which point you can make calls to the Cardigan API like so:
cardigan.api.getBalance({
  number: '394285729834572920394',
  pin: '3424',
  onSuccess: (card) => {
    // this method will run if the API call succeeds, with `card` populated as:
    // {
    //   "currency": "CAD",
    //   "balance": "100.00",
    //   "expires_at": null
    // }
  },
  onError: (error) => {
    // this method will run if the API call fails, with `error` populated as:
    // {
    //   "errors": [
    //     "Invalid PIN"
    //   ]
    // }
  },
  onComplete: () => {
    // this method will always run regardless of result
  }
});
Balance checker
To implement a balance checker in a custom theme integration, you have the option of including Cardigan.js on the page as described above, adding the HTML form elements to collect card information, and then wiring up the form to the Cardigan.js API calls with your own script logic.
While you're welcome to do this (and in some situations, this could be the preferred option), Cardigan.js also supports automatically hooking into a HTML <form> element present on the page and adding sensible default behaviour.
To that end, if you add the following HTML to your theme in a custom page template or similar, you should get an out-of-the box balance checking experience similar to the drag and drop balance checker widget, but with the ability to fully customise the appearance of the form.
<form data-cardigan-balance-checker="form" method="get" target="_blank">
  <div data-cardigan-balance-checker="result"></div>

  <label>
    Number
    <input data-cardigan-balance-checker="number" type="tel" name="number" value="" />
  </label>

  <label>
    PIN
    <input data-cardigan-balance-checker="pin" type="tel" name="pin" value="" />
  </label>

  <button data-cardigan-balance-checker="submit" type="submit">
    Submit
  </button>
</form>

<script id="cardigan-config" type="application/json">
  {{ shop.metafields.cardigan.config }}
</script>
{{ shop.metafields.cardigan.config.value.cardigan_js_uri | default: shop.metafields.cardigan.config.cardigan_js_uri | script_tag }}
Product form
To implement a product form in a custom theme integration, you simply need to ensure that you're presenting customers with the desired additional information inputs and that they are attached as line item properties when a digital gift card product is added to the cart.
The simplest implementation (capturing all currently supported pieces of additional information) would look like this within your product form:
<div data-cardigan-product-form="form">
  <label>
    Recipient name
    <input data-cardigan-product-form="recipient-name" type="text" name="properties[{{ shop.metafields.cardigan.config.value.property_names.recipient_name }}]" value="" />
  </label>

  <label>
    Recipient email
    <input data-cardigan-product-form="recipient-email" type="email" name="properties[{{ shop.metafields.cardigan.config.value.property_names.recipient_email }}]" value="" />
  </label>

  <label>
    Sender name
    <input data-cardigan-product-form="sender-name" type="text" name="properties[{{ shop.metafields.cardigan.config.value.property_names.sender_name }}]" value="" />
  </label>

  <label>
    Greeting
    <input data-cardigan-product-form="greeting" type="text" name="properties[{{ shop.metafields.cardigan.config.value.property_names.greeting }}]" value="" />
  </label>

  <label>
    Delivery daate
    <input data-cardigan-product-form="delivery-date" type="text" name="properties[{{ shop.metafields.cardigan.config.value.property_names.delivery_date }}]" value="" />
  </label>
</div>
Headless integration
Cardigan and the Cardigan.js client library are fully compatible with headless storefront implementations.
As headless implementations vary considerably, we're not able to provide a "one size fits all" example, but reviewing the custom theme integration documentation above and pulling in the Cardigan configuration metafield via Shopify's Storefront API should give you a good starting point that can be adapted to your specific stack.